Installation
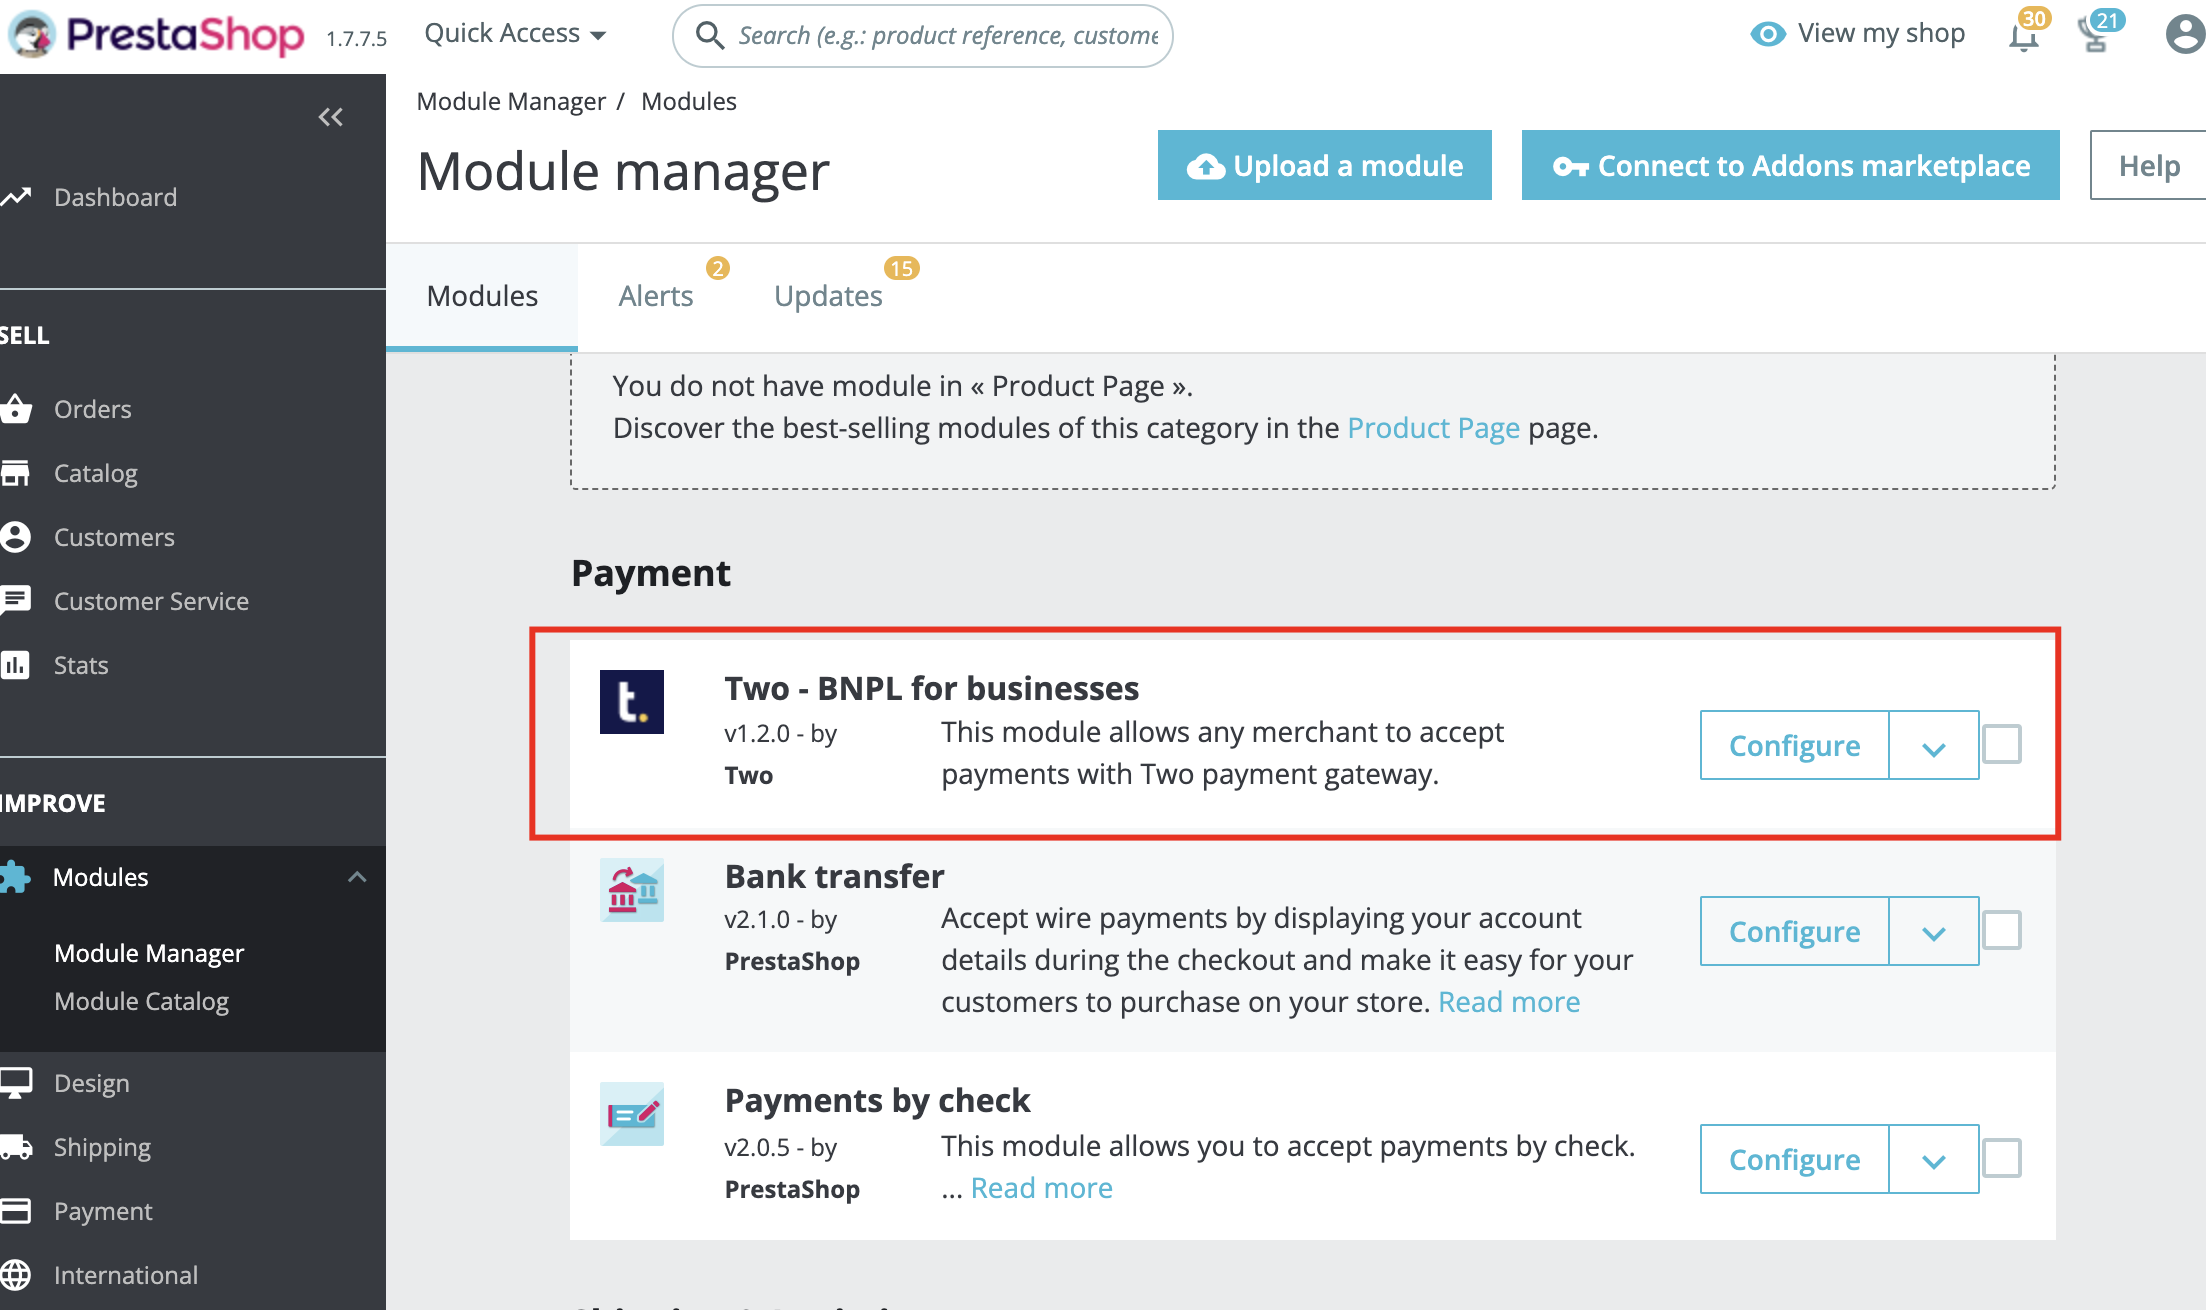
- Log in to your (PrestaShop) store in admin panel.
- Go to
Modules → Module Manager. - Click on the Upload Module Or Install a Module.
- Select twopayment.zip file you have downloaded on our shop.
- A new module has been installed.
Configuration
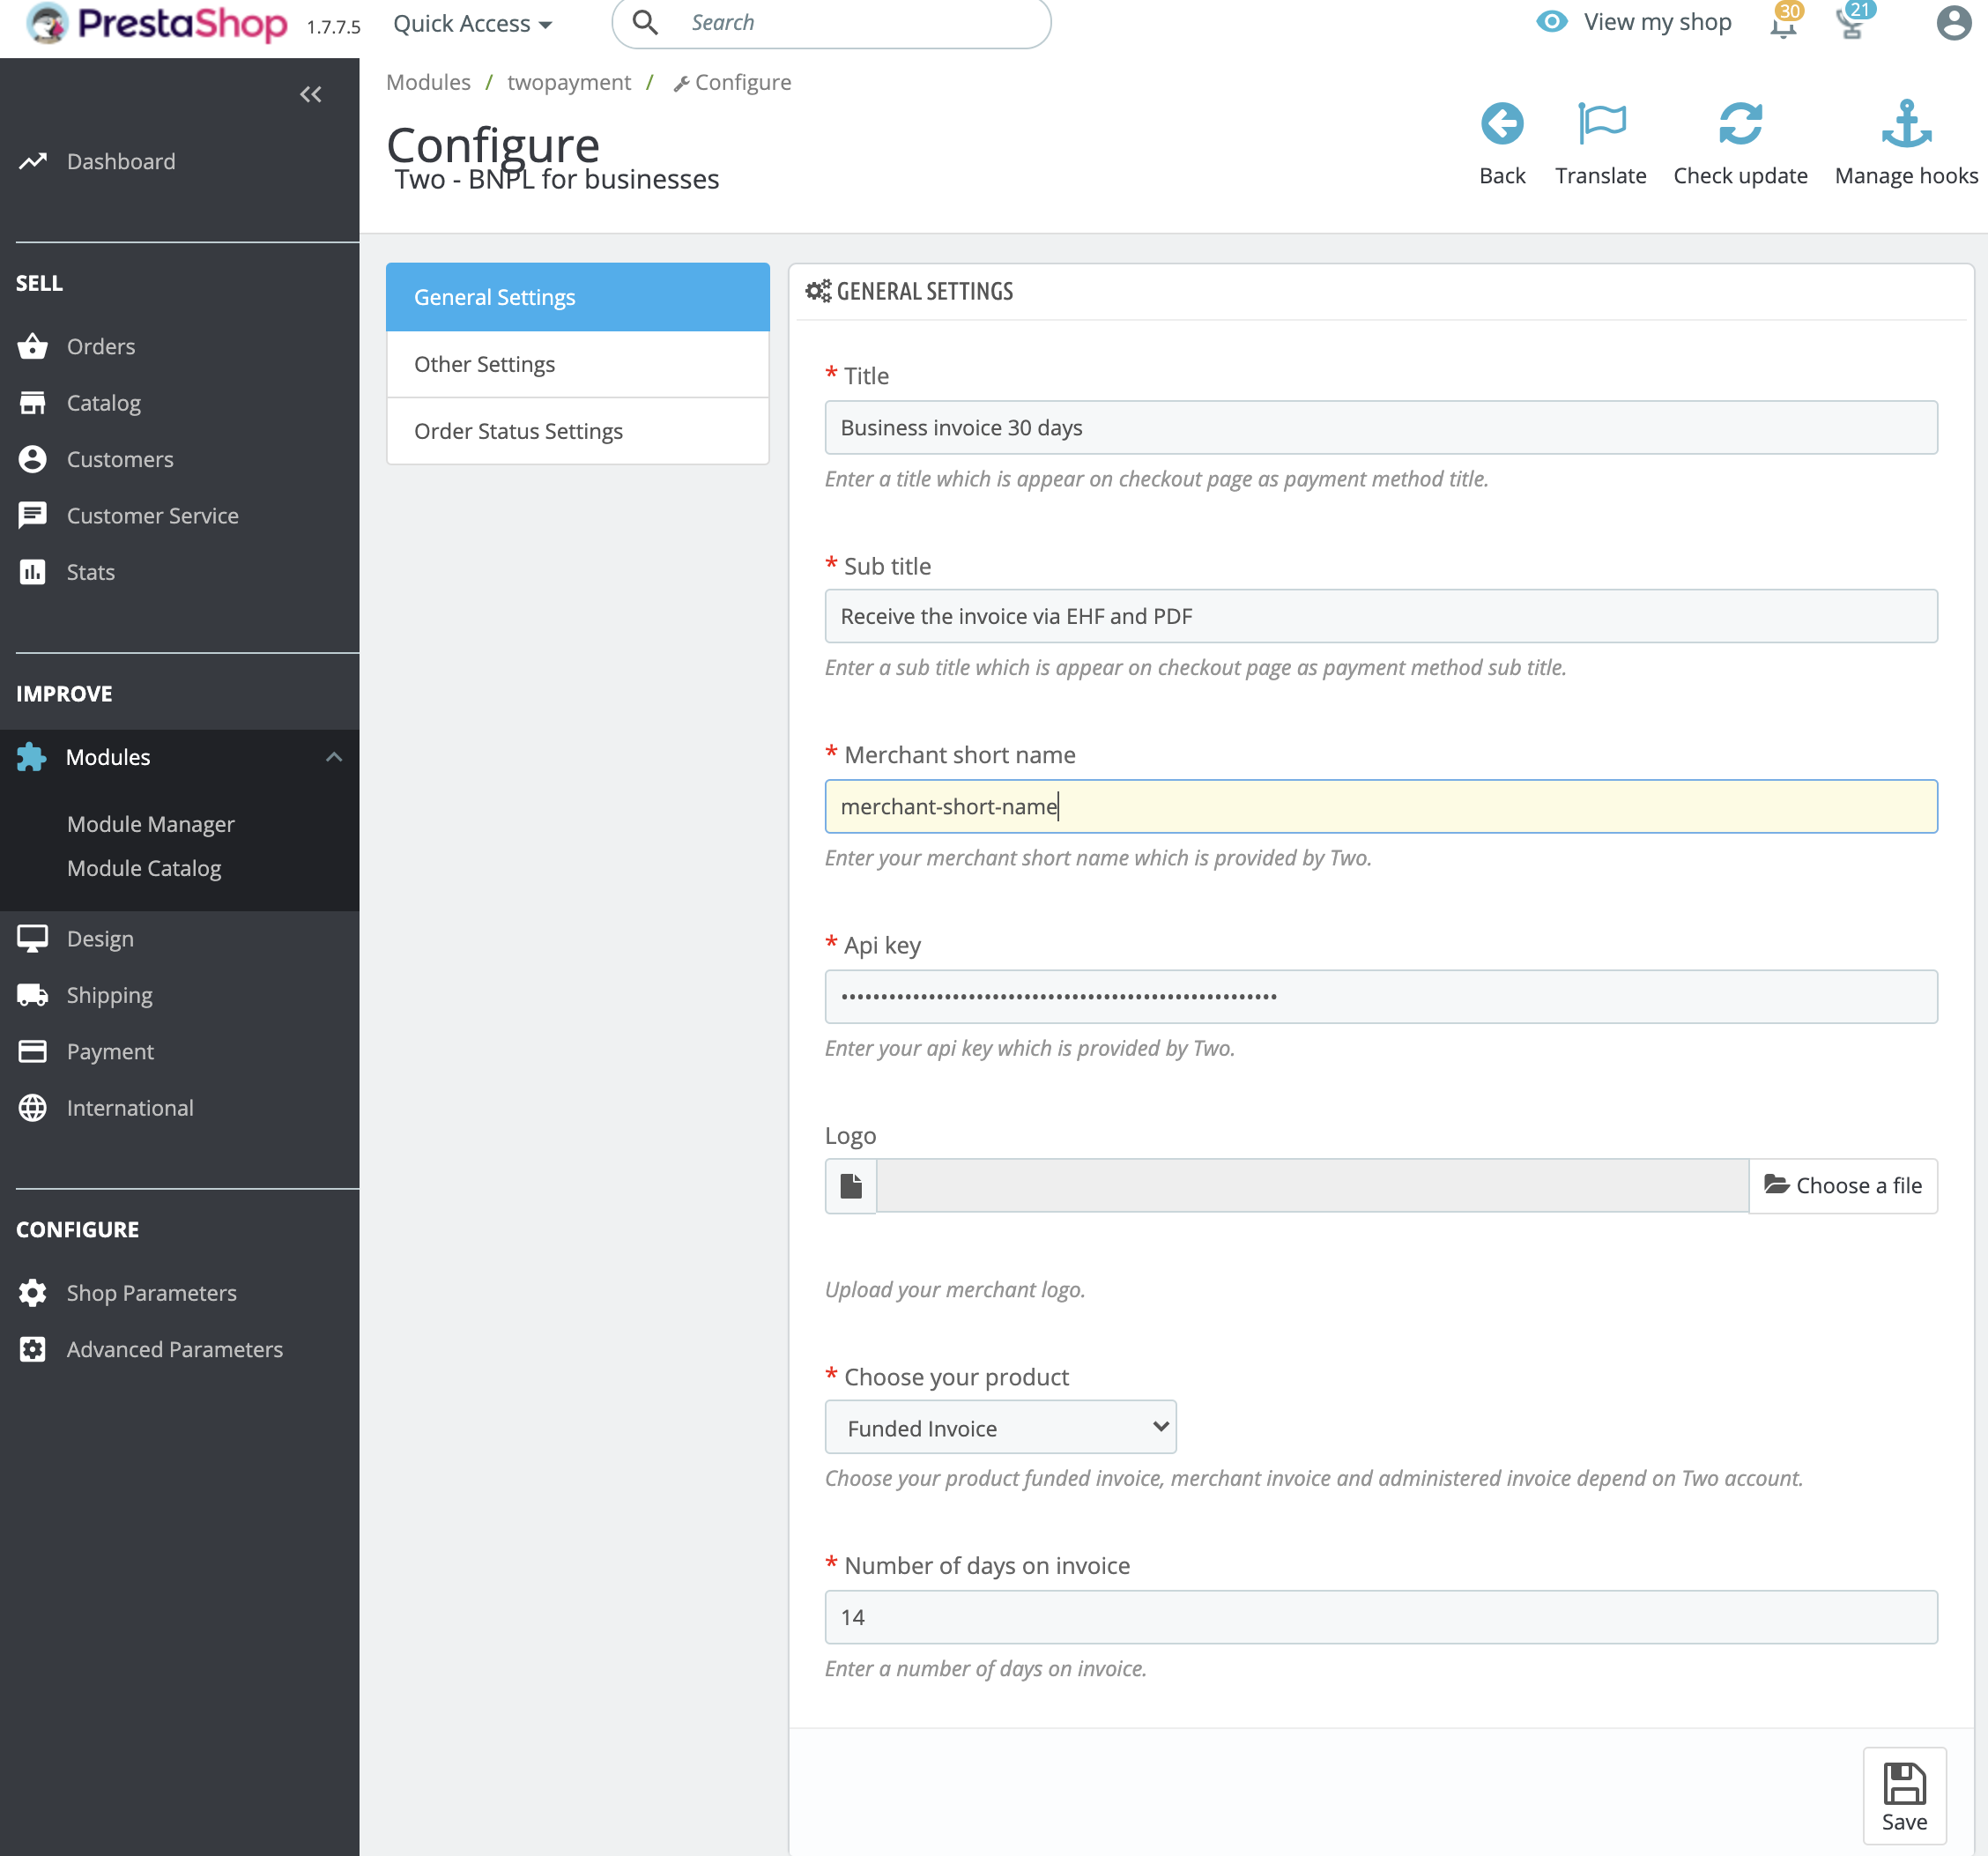
- After you have successfully installed the Two Payment module, it is time to configure it.
- Configuration is split into three parts (general settings, other settings and order status settings) outlined below.
General Settings
| Field | Default value | Input Type | Required | Description |
|---|---|---|---|---|
| Title | Business Invoice 30 days | Text | Yes | Enter a title which will appear on the checkout page as payment method title. |
| Subtitle | Receive the invoice via EHF and PDF | Text | Yes | Enter a subtitle which will appear on checkout page as payment method sub title. |
| API Key | NULL | Text | Yes | Enter your API KEY provided by the Two team. |
| Logo | NULL | File Upload | No | Upload your merchant logo. |
| Choose your product | Funded Invoice | Select Box | Yes | Choose your product funded invoice, merchant invoice and administered invoice depend on Two account. |
| Number of days on invoice | 14 | Number | Yes | Enter a number of days on invoice. |
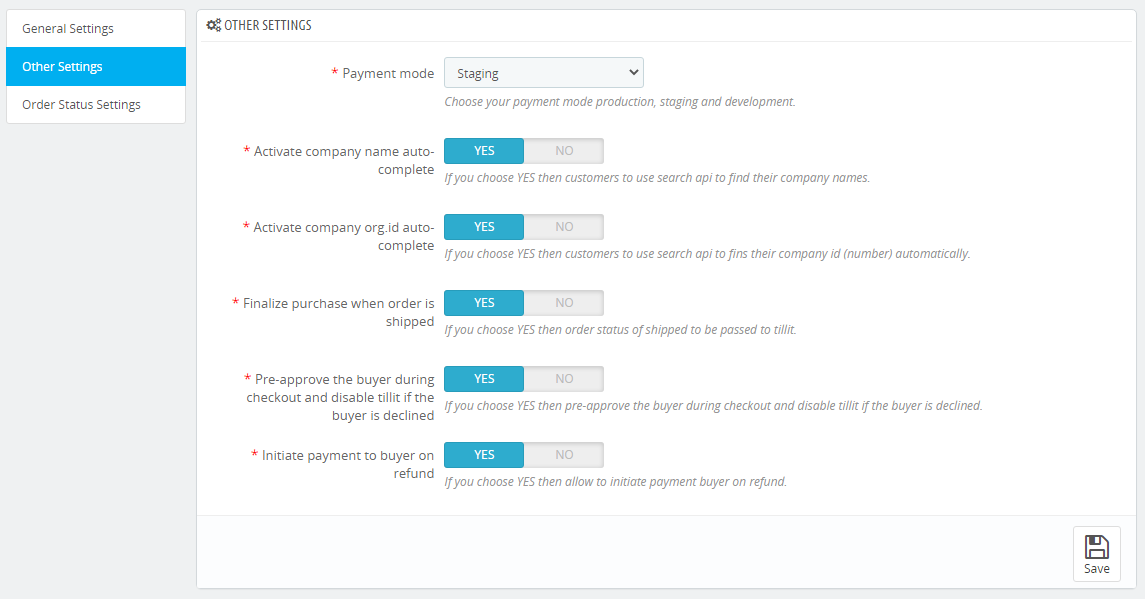
Other Settings
- Once you have successfully configured General Settings proceed to Other Settings, which should look something like this (fields explained in the table below).
| Field | Default value | Input type | Required | Description |
|---|---|---|---|---|
| Payment Mode | Staging | Select Box | Yes | Choose your payment mode production, staging and development. |
| Activate company name auto-complete | Yes | Switch Button | Yes | If you choose YES then customers use search api to find their company names. |
| Activate company org.id auto-complete | Yes | Switch Button | Yes | If you choose YES then customers use search api to find their company id (number) automatically. |
| Finalize purchase when order is shipped | Yes | Switch Button | Yes | If you choose YES then order status of shipped to be passed to Two. |
| Pre-approve the buyer during checkout and disable Two if the buyer is declined | Yes | Switch Button | Yes | If you choose YES then pre-approve the buyer during checkout and disable Two if the buyer is declined. |
| Initiate payment to buyer on refund | Yes | Switch Button | Yes | If you choose YES then allow to initiate payment buyer on refund. |
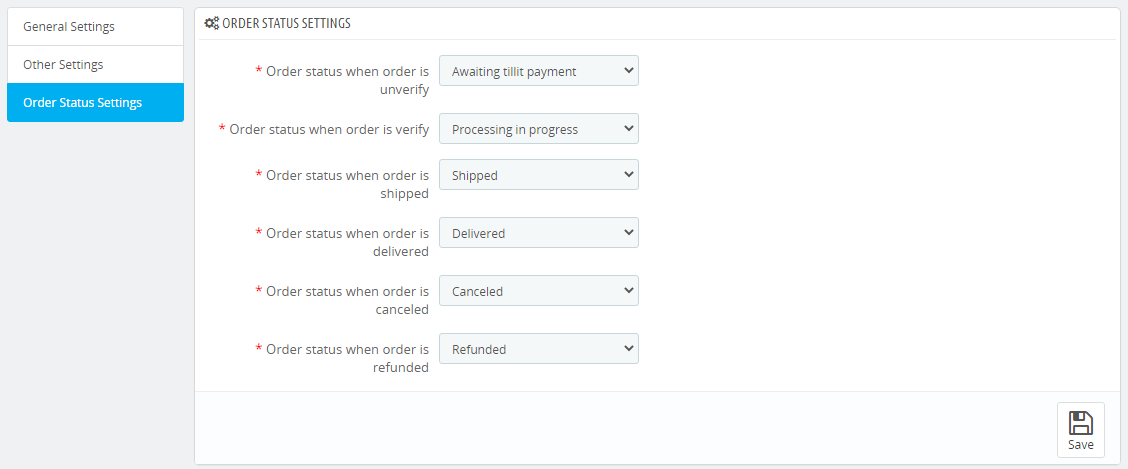
Order Status Settings
- Once you have successfully configured Other Settings, proceed to Order Status Settings.
- The fields are explained in the table below.
| Field | Default value | Input type | Required | Description |
|---|---|---|---|---|
| Order status when order is unverify | Awaiting Two payment | Select Box | Yes | Choose PrestaShop Order Status in list. |
| Order status when order is verify | Processing in progress | Select Box | Yes | Choose PrestaShop Order Status in list. |
| Choose prestashop order status in list | Shipped | Select Box | Yes | Choose PrestaShop Order Status in list. |
| Order status when order is delivered | Delivered | Select Box | Yes | Choose PrestaShop Order Status in list. |
| Order status when order is canceled | Cancelled | Select Box | Yes | Choose PrestaShop Order Status in list. |
| Order status when order is refunded | Refunded | Select Box | Yes | Choose PrestaShop Order Status in list. |
Desired Results
Work Process in Frontend
- If you have successfully configured all backend forms you should see Two payment on the checkout page.
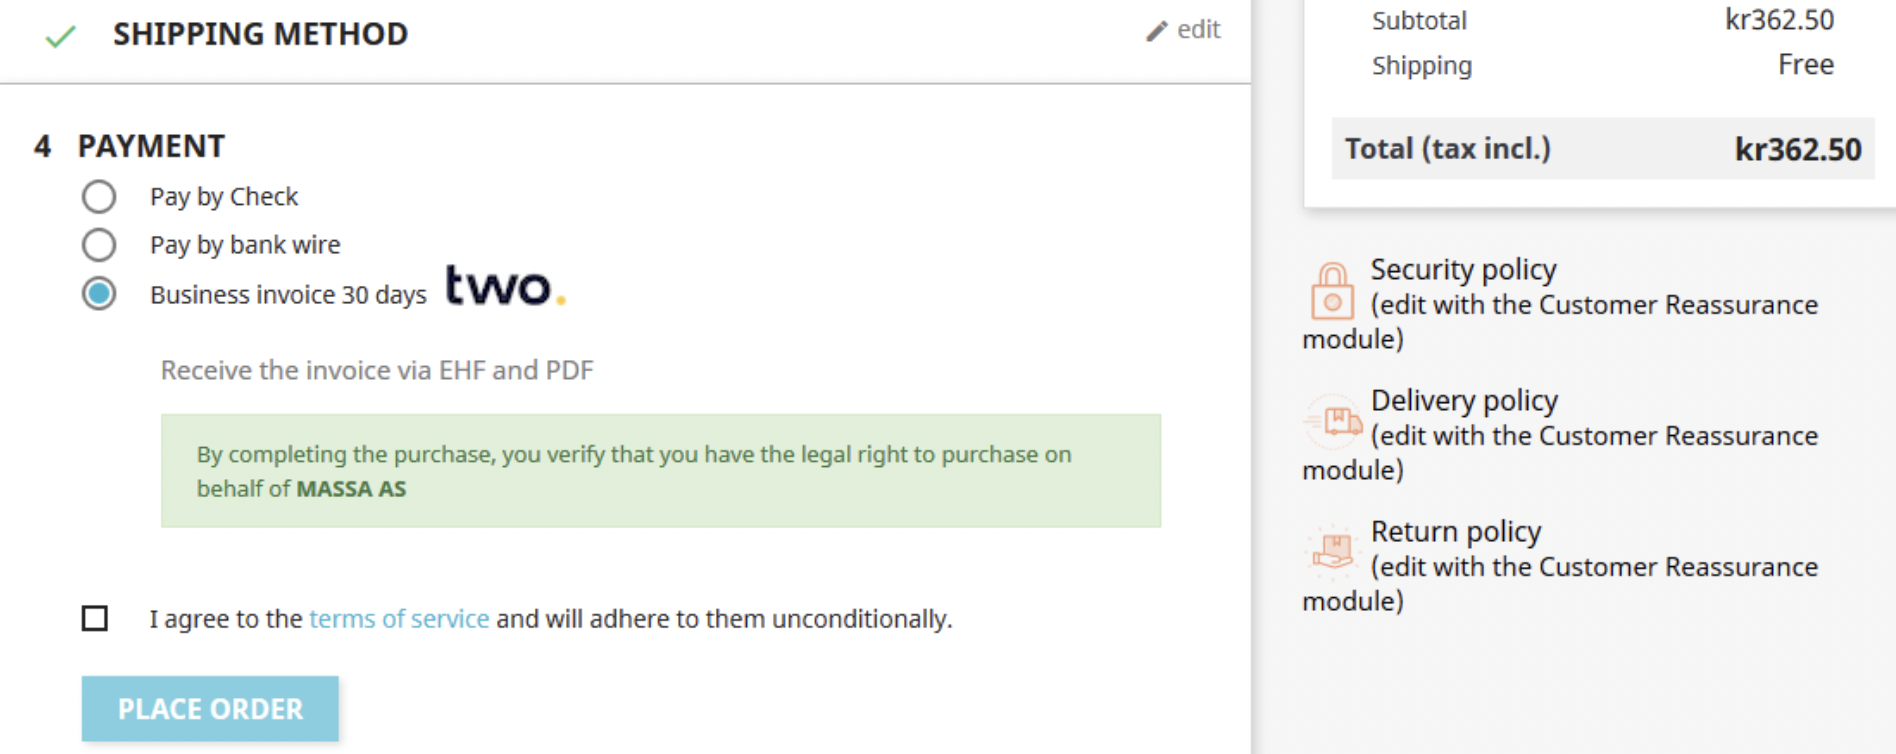
- After successfully placing an order in the store, the customer then sees the Two payment information on the order confirmation page.
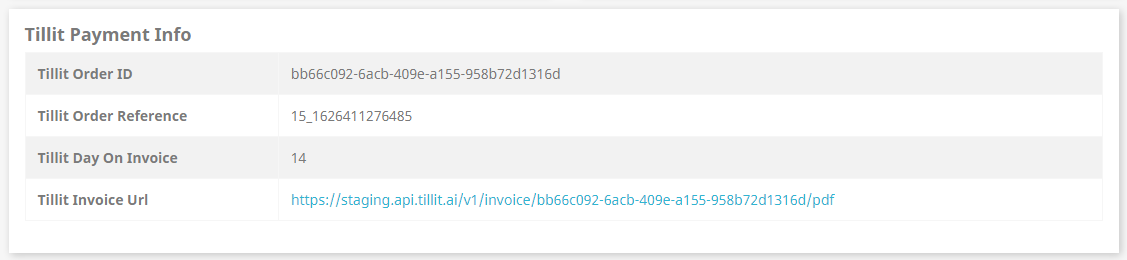
Work Process in Backend
- The store owner sees all Two payment information on the admin order details page.
